

Here’s everything I’ve been focusing on to get the most out of the new Dreamlight Festival in Heartopia. I’m talking season pass upgrades, daily “Movie Guide” collectibles, where to find festival bubbles, how to farm fashion wave tokens fast, and the key bug, fish, and cooking ingredient routes that make the whole event easier.
1) Start Here: Season Pass + the Festival Display
As soon as I log in, I see the new season pass. The structure is basically the same as the prior Winter Frost event, so if you know that system, you’re already ahead.
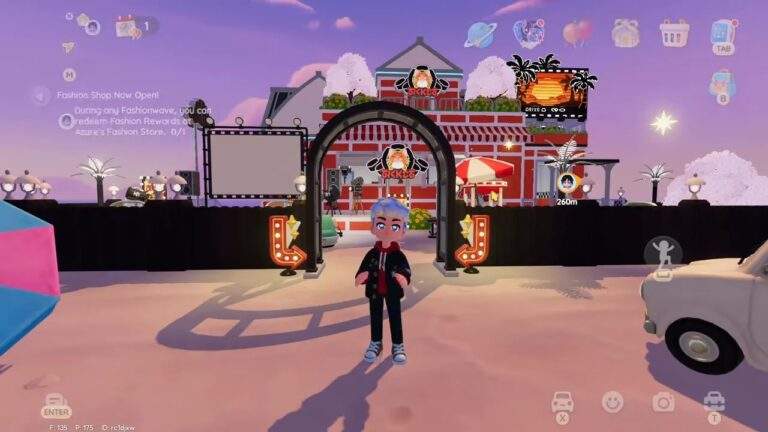
There’s also a really handy premium display setup located at Amethyst Beach (bottom left of the map). If you’re curious whether the premium items are worth it, you can walk through and interact with what’s featured, including decor like:
- Wallpaper and rug pieces
- Cooking stations
- Other items featured in the premium path
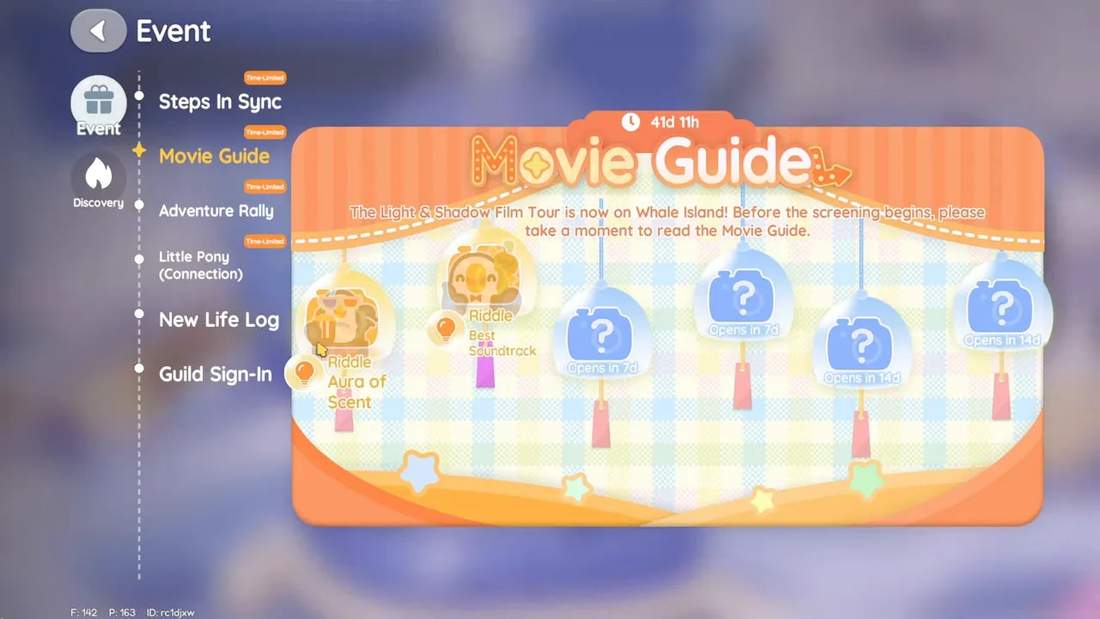
2) The “Movie Guide” Daily Emote Bubbles
In the event tab, I look for Movie Guide. This is something I log in for daily, because it awards a new emote.
Each emote is time-gated with “opens in 7 days” and “opens in 14 days” style timers. For this week’s progress, I focus on the two bubbles you need to collect.
Bubble #1: Camera bubble
Location: Amethyst Beach
I hop up to collect it, then the emote unlocks immediately after pickup.
Bubble #2: Piano bubble
Location: Art Street, near the piano
I check above the piano and grab the bubble floating there.
3) The Token Engine: Cooking at Masimo + Selling at Asher
The core loop I use for fashion wave tokens is simple:
- Buy recipes and key ingredients at the cooking vendor (Masimo).
- Cook new event dishes and drinks using those recipes.
- Sell finished items to Asher to convert food into fashion wave tokens.
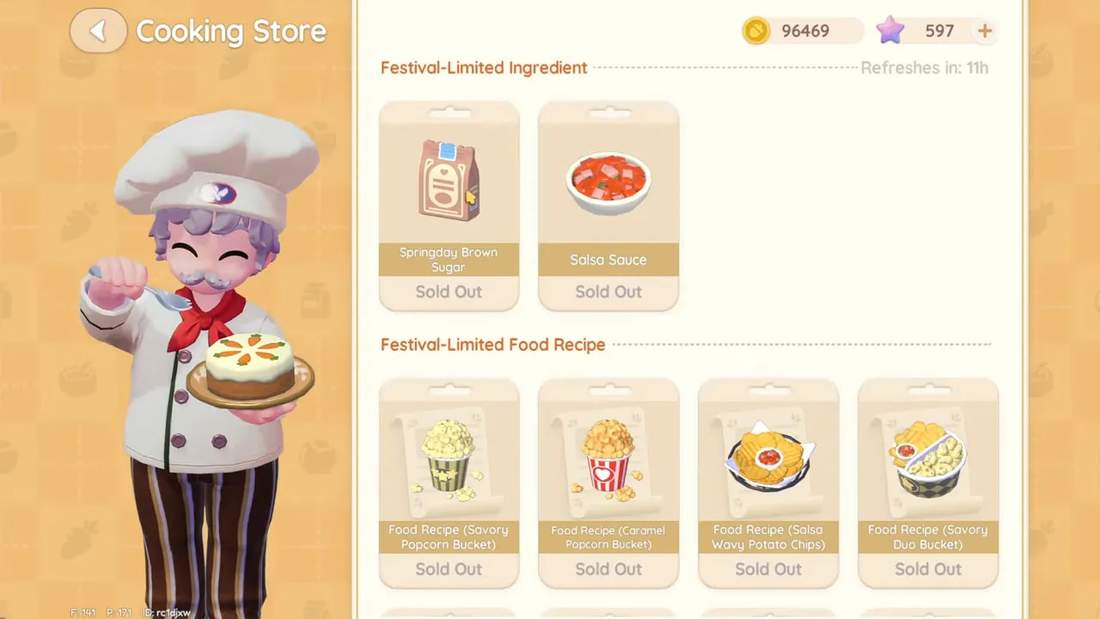
Masimo purchases I prioritize
At Masimo, I always fully buy out the new ingredients first:
- Spring Day Brown Sugar (fully buy out)
- Salsa (buy all)
Then I buy all new event recipes. Most are around 1,000 gold, and some are closer to 1,500 gold, but nothing here is extremely pricey compared to how valuable the token returns can be.
Tea leaves are the big bottleneck and the big opportunity. I fully buy them out, but with the limitation that I can only get 50 per day. They’re used in recipes and they matter for scaling token output.
Selling at Asher (no double procurement this time)
After cooking, I go to Asher (same NPC from the previous event). In the Festival related tab, I sell items to earn tokens.
Important change: there is no double procurement like there was during the last event. So it’s not about exploiting a multiplier. It’s about consistently selling new event foods, drinks, insects, and event crops for steady tokens.
Example: a cooked Spring Day Fruit Black Tea can sell for 70 fashion wave tokens.
What tokens are for: Festival Store priorities
Tokens are used at Asher’s Festival store. In total, you’re looking at roughly 100,000 fashion wave tokens to get everything.
The store includes:
- New emotes
- Dances
- Furniture pieces
- Starlight Avenue map
- Puzzle pieces (these matter later)
4) Grow the Event Crop: Romaine Lettuce + New Flowers
Cooking gets way faster when I’m growing what I need instead of constantly buying. So I go to the gardening vendor next.
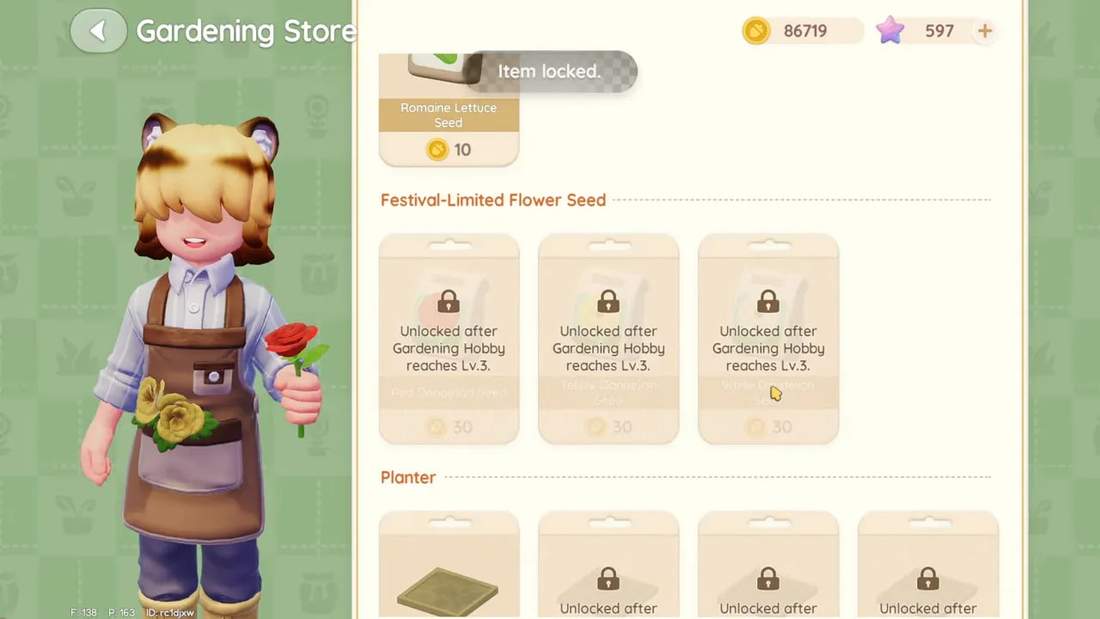
Romaine lettuce is exclusive to this event. You need gardening level 3 to access it.
What Blanc sells
- Romaine lettuce seeds (I buy about 100; it’s 1,000 gold each)
- Three flower types (yellow dandelion, white, red)
Growth time: about 15 minutes.
5) How Cooking Works: Season Pass Stove + Hidden Recipes
Cooking recipes come from your season pass. There’s a free tier, and at level 1, I get the recipe for the Popcorn Serving Cart.
This cart acts as a stove. It’s similar to the penguin stove setup from earlier.
Crafting the stove
I craft it at my crafting station. It uses:
- Material packs from the same seasonal pass
- 15 quality timber
Hidden recipe unlocks
Here’s the part that makes cooking feel like a progression system. After I learn the main recipes, cooking certain combinations unlocks additional ones.
Example: cooking a Romaine Lettuce Taco uses:
- 2 roma ine lettuce
- salsa
- egg
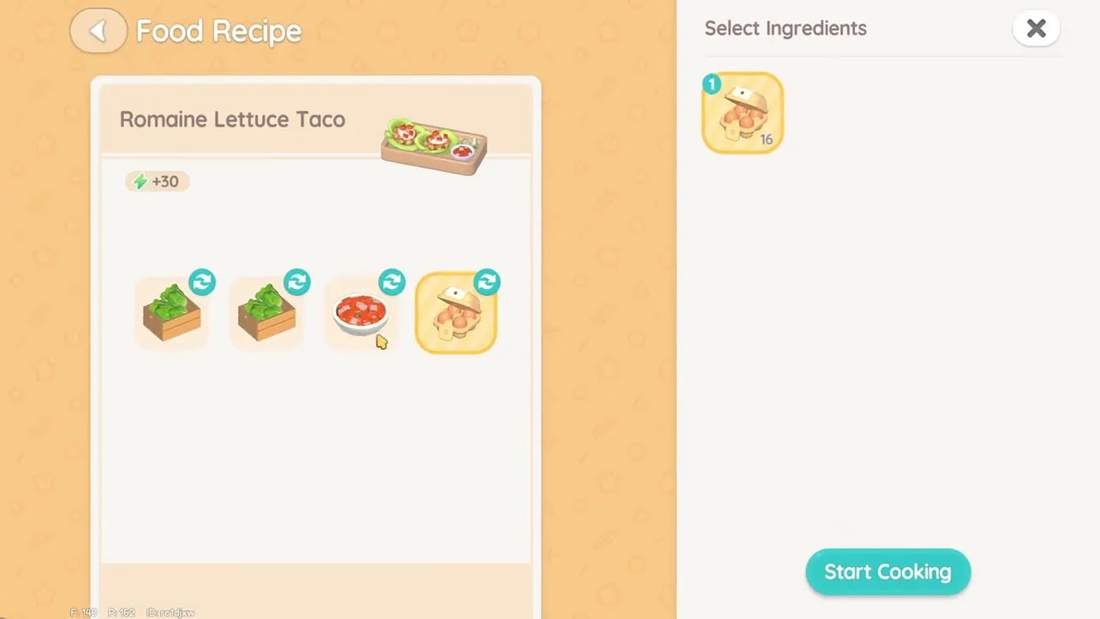
Then, in the cooking interface, I can swap the base crop to generate different results and unlock more recipes (like wild mustard green tacos and new drinks).
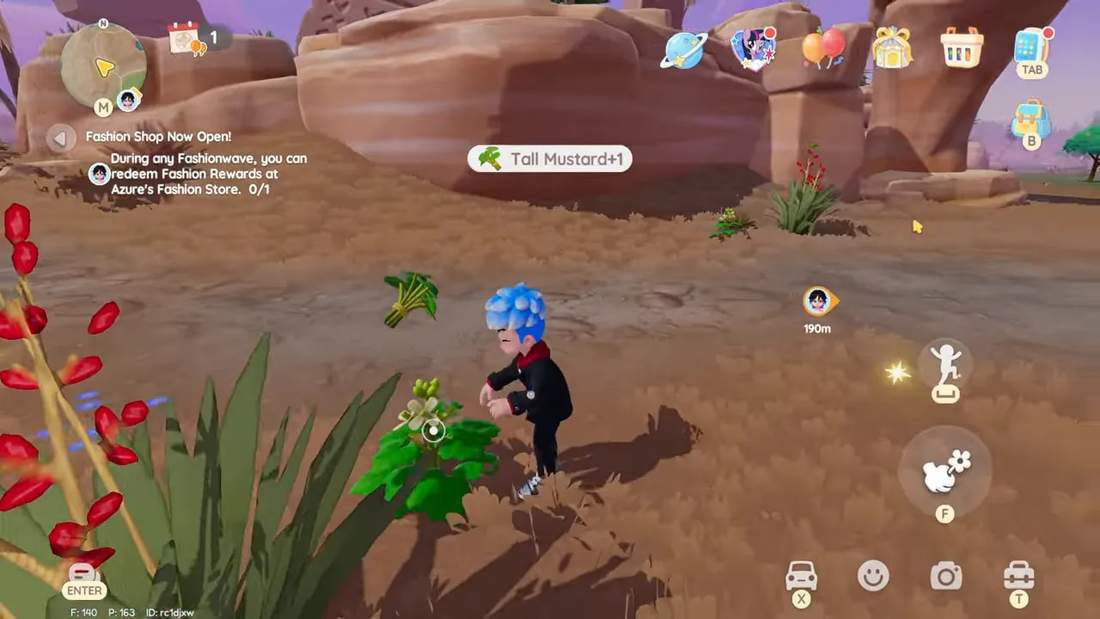
6) Get the New Forageables: 4 Plant Types + Efficient Routes
To swap taco and drink outcomes, I need the new forageables. These come from foraging, and the game provides multiple locations for them.
I organized my runs by plant type. Each plant type has multiple clusters across the map, and they usually respawn fairly quickly (often only a few minutes).
Key forage locations I use
- Tall mustard: multiple clusters (I hit them in sequence and harvest, then rotate locations)
- Mustard greens: clusters around the fishing village / lighthouse area
- Burdock: flower-area clusters (I use the Flower Fields route)
- Fiddlehead: more spread out, including the forest area
Want more forage spawns? Do the event puzzles
If you want extra spawn locations beyond the normal farm routes, the event puzzles let you generate more batch areas.
At the festival store (bottom left of the event section), you’ll find:
- Two puzzles for each forageable plant type
- Completion adds new spawn locations into your inventory and increases where plants appear
The example I saw was a tower-like structure (the deer tower). After completion, it creates additional batches. This helps, but it’s optional. If you don’t want to grind puzzles, you can still rely on the base map forage spawns.
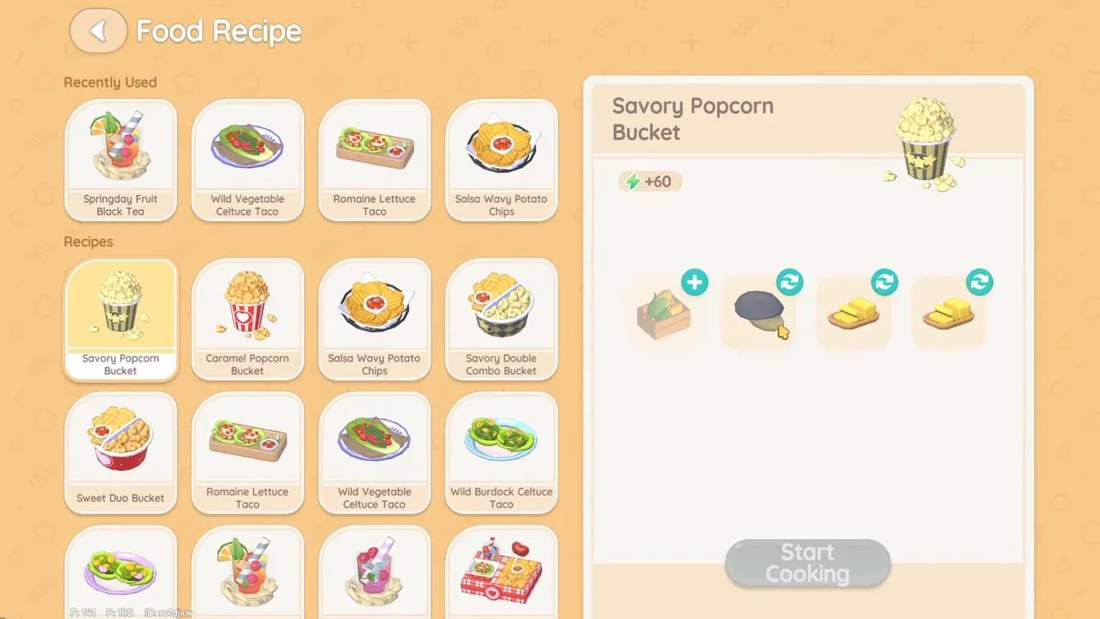
7) Best Cooking Targets: Tea vs Tacos vs Popcorn
When I’m optimizing tokens per effort, I focus on what sells the best and scales well with higher star outcomes.
- Teas: very strong token value
- Tacos: low token value (around 40 for a one-star)
- Savory popcorn bucket: high token potential, especially if I can get higher stars (3, 4, 5 star)
Also, popcorn takes longer farming: corn takes about 12 hours to grow. Good news though: popcorn recipes do not force you into using only black truffles. You can use other mushrooms to meet the requirement.
8) Bug & Insect Locations: Stars Path + Where to Find Them
The insect section uses the same idea as other event reward paths: you gain stars, and stars unlock progress.
How stars work:
- 1-star catch adds 1 star
- 3-star catch adds 3 stars
- Total caps around 25 stars for that category
Timing note: the final insect reward isn’t open until week two. This week, you can only collect four of them.
Green bees
Location: near Amethyst Beach in the green patch area (down by the theater setup)
These show up as cute green bee spawns as you search through the area.
Purple and pink script bees
Location: Windmill Flower Fields
I look for purple and red/pink ones, and they can sometimes hide between the flowers, so it’s worth slow scanning.
Red bees (rare)
Location: Whale Mountain
These are usually the rarest. I found them by slowly checking around the tree area up near the mountain.
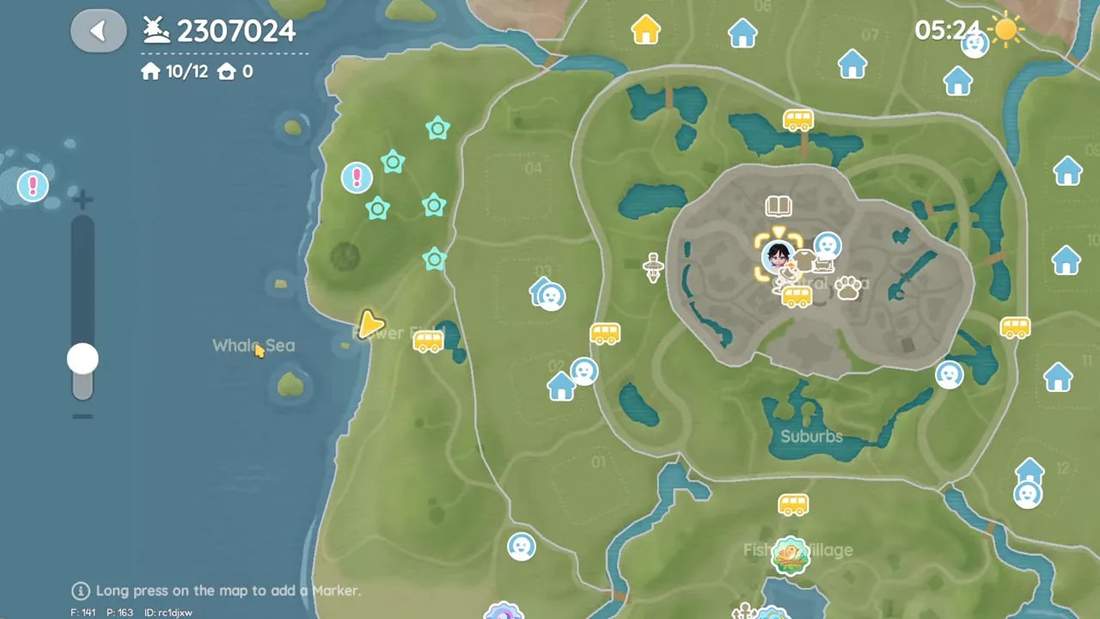
9) Fish Locations + Faster Fishing with Lures
Fish are tied into earning stars and helping progress that reward path. I focus on the spawn zone and then stay patient long enough to pull high star variations.
Where fish spawn
Location: Whale Sea
Pretty much anywhere around that area works.
Speed up tools (if you have them):
- Mermaid fish attractors
- Perfume
- If you can, get friends to help and trade lures
Fish sell for tokens too
After catching, I sell at Asher’s sell menu. Higher star fish earn more tokens than low-star items or planted crops.
Example token comparisons from what I saw:
- Some event teas and high-value items can sell for around 70 tokens (context varies by item/star)
- A low-star planted Romaine Lettuce sell around 10 tokens
- Higher star fish types can sell around 35 and 20+ depending on the exact star rating
10) Extra Event Advice: Don’t Ignore the Daily Tasks
Beyond cooking and hunting, the event has plenty of quests and daily tasks. I always do them because they accelerate:
- Stars progress
- limited-time exhibition passes
- token rewards
- free tier rewards
The event lasts a while, with about 41 days remaining, so there’s time to optimize. But the best strategy is still the same: keep your token loop running, prioritize tea and popcorn when possible, and gather the forageables that unlock the most useful recipe swaps.
Quick Checklist (My Priority Order)
- Collect Movie Guide emote bubbles (camera at Amethyst Beach, piano at Art Street)
- Buy Masimo recipes + key ingredients (brown sugar, salsa, tea leaves)
- Sell finished dishes at Asher for fashion wave tokens
- Grow romaine lettuce (15-minute cycle)
- Forage new plants for recipe swaps and unlocks
- Cook and aim for higher star outputs, especially with teas and popcorn buckets
- Catch fish at Whale Sea and use lures if available
- Check insect spawns (Amethyst Beach green bees, Windmill Flower Fields purple/red, Whale Mountain red rare)
Ready to Start?
If there’s one takeaway I’d stick with, it’s this: fashion wave tokens come from consistent cooking and smart selling, and the rest of the event systems (forageables, farming, bugs, fish) feed into that loop.