
I unlocked every possible Brainrot Recipes in Craft a Brainrot and boiled down what matters: which ingredient tiers produce what, how events change outcomes, and which combinations you should chase for maximum power. Below I give a clear breakdown of crafting tiers, handy examples, event tips, and the two secret, top-tier brainrots you want on your board.
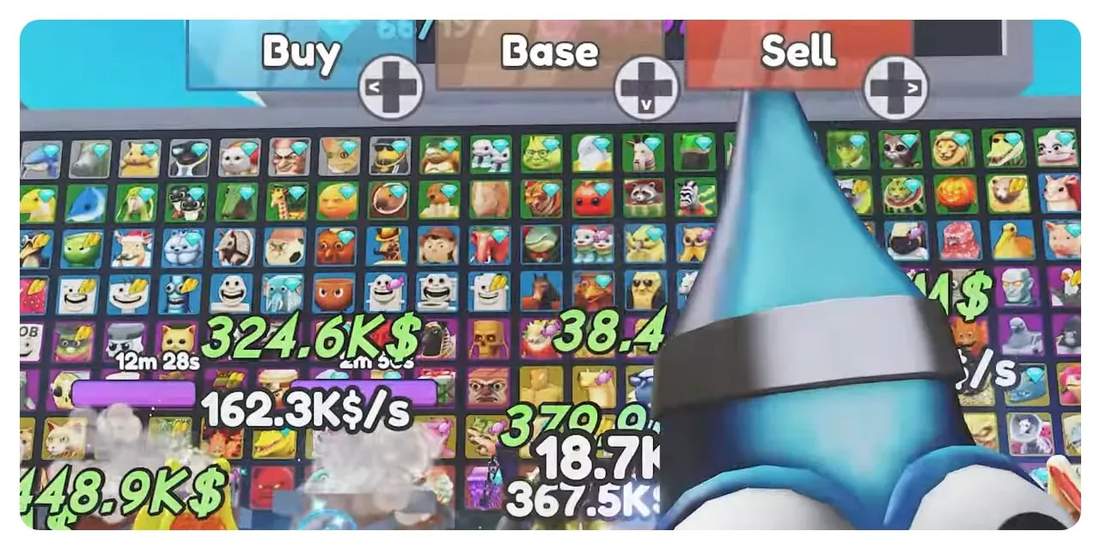
Table of Contents
- Why unlocking recipes matters
- Crafting tiers and common ingredients
- Event mechanics: how candy, gold, diamond and void change everything
- How I chased the void 67 and why it’s worth it
- Practical crafting tips and shortcuts
- Notable and secret Brainrot Recipes to prioritize
- Quick reference: ingredient symbols and shorthand
- Final notes
Why unlocking recipes matters
Each unique recipe you unlock gives a permanent 5 percent boost to your base stats. That stacks fast. By unlocking every Brainrot Recipes I climbed leaderboards and massively increased cash per second. The more recipes you collect, the higher your passive gains — it’s that simple.

Crafting tiers and common ingredients
Recipes are built from a set of base ingredient types. Knowing these tiers makes it easy to predict or hunt for specific brainrots.
- Starter tier: shoe and shark combos. These are the very first recipes you’ll craft.
- Low-mid tier: cactus, mouse, and tree start showing up with three-ingredient combos.
- Mid tier: elephant and fruit introduce stronger mixes and multi-ingredient recipes.
- High tier: bird, iron, monkey, and cheese open up advanced crafting options.
- Endgame tier: galaxy, crocodile, cow and rare combinations lead to the powerful secret brainrots.
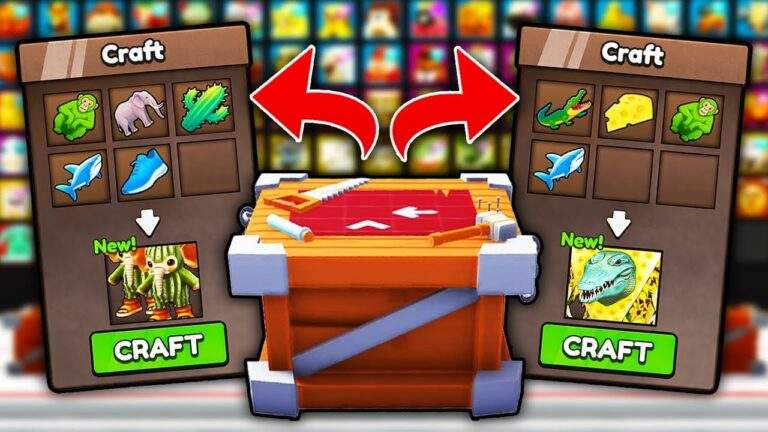
Common example recipes by tier
- Starter: Trella = shark + shoe
- Low-mid: Trulo Trilina = shoe + shark + mouse
- Mid: Banana = elephant + mouse + shark
- High: Cappuccino Assassino = iron + fruit + tree + cactus + shoe
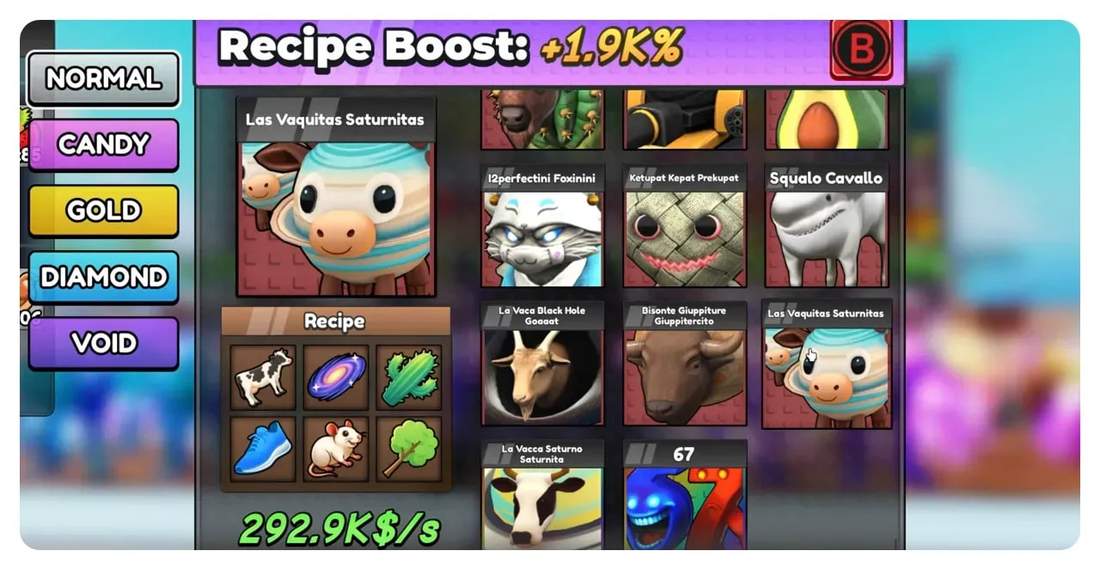
- Endgame secrets: Lovaka Satno Saturnita and the Six Seven (6 7)

Event mechanics: how candy, gold, diamond and void change everything
Timed events significantly alter crafting outcomes. During special events you get a much higher chance to receive mutated versions of the same recipe:
- Candy mutation — mid boost to stats.
- Gold mutation — larger boost than candy.
- Diamond mutation — massive boost (these can reach extremely high per-second values).
- Void events — the rarest and most valuable. Void-version endgame pets (for example the void 67) can skyrocket your income.
During a void event I spent Robux to skip crafting a few times because these events are rare and the potential return is enormous.

How I chased the void 67 and why it’s worth it
The void 67 is one of the best pets in the game. Each newly unlocked recipe adds 5 percent to your base, and the void mutation multiplies the pet’s output dramatically. I managed to get a void 67 that produced over 1.8 million per second — an insane jump that justified the grind for me.
Practical crafting tips and shortcuts
- Unlock progressively: Start with simple two-ingredient recipes, then work upward. Each unlocked recipe compounds your growth.
- Use events to maximize the chance of rare mutations. Save crafting for candy, gold, diamond or void events if possible.
- Ingredient management: Keep enough of each ingredient so you can craft during an event without buying dozens of items on the spot.
- Skip crafting selectively: Using Robux to skip can be worth it during void events, but only if you plan for the cost and your ROI makes sense.
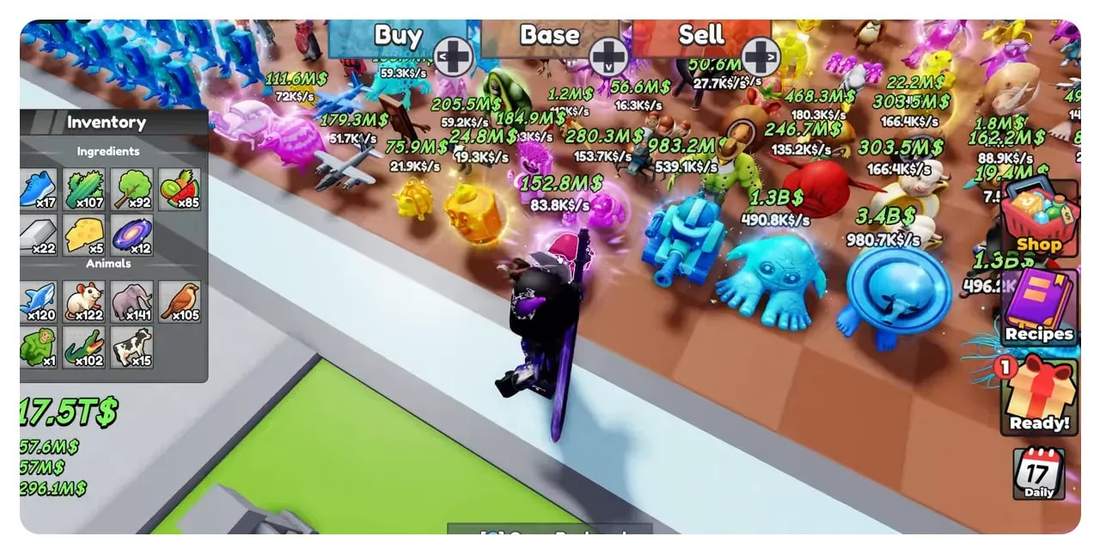
- Board placement: High-value pets belong on your primary money-making board slots. Dig up and sell weaker duplicates to make room.

Notable and secret Brainrot Recipes to prioritize
There are two secret/ultimate brainrots that stand above the rest:
- Lovaka Satno Saturnita — a high-end combination involving cow and galaxy elements plus cheese, mouse, cactus and shoe. One of the most powerful secret recipes.
- Six Seven (6 7) — my personal favorite. Requires cow + cactus + shoe + monkey + cheese + iron. This is the absolute top-tier pet and scales extremely well with event mutations.
Quick reference: ingredient symbols and shorthand
When planning crafting runs I use shorthand for speed. Memorize these and you’ll craft faster:
- Shoe = SH
- Shark = SK
- Cactus = CA
- Mouse = MO
- Tree = TR
- Elephant = EL
- Fruit = FR
- Bird = BI
- Iron = IR
- Monkey = MK
- Cheese = CH
- Galaxy = GA
- Crocodile = CR
- Cow = CW
Final notes
Unlocking every Brainrot Recipes is a grind, and events change the math. Focus on unlocking recipes to stack that 5 percent boost, plan for events, and prioritize building toward the two secret endgame brainrots. I reached the top of my leaderboards by mixing steady unlocking with aggressive event crafting — and the payoff is huge once you land a void or diamond mutation on a top-tier pet.
If you want a compact cheat sheet for specific builds, I kept lists of notable combos and tiered examples earlier in this post. Use them as a roadmap and adjust based on what you already own and which events are active.