
If you’re running missions in Arc Raiders in 2026 and want reliable, low-stress ways to clear every ark, this is the playbook I use. Wolf packs used to be the lazy god-tier answer for nearly everything, but they were recently nerfed. So this guide focuses on practical weapon placements, gadget usage, and simple sightlines that work even without an arsenal of wolf packs.
Quick meta notes
Wolf packs are still incredibly strong, but now require a rocketeer driver to craft, so you can’t rely on them as freely. Where possible I still recommend carrying one for rocketeers, bastions, and bosses, but the rest of this guide assumes you might not have them.
Small flyers and easy ark
Tick
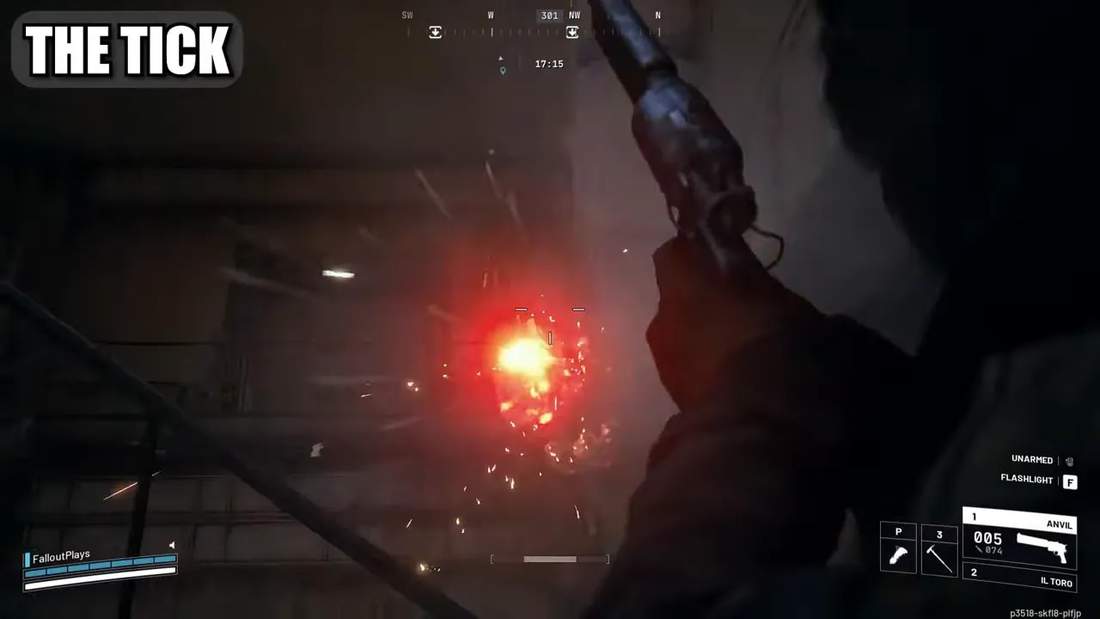
Ticks are trivial. If you hear one, either shoot it off the ceiling/wall or quietly melee it. Silent melee keeps alarms down if you’re sneaking.
Snitch
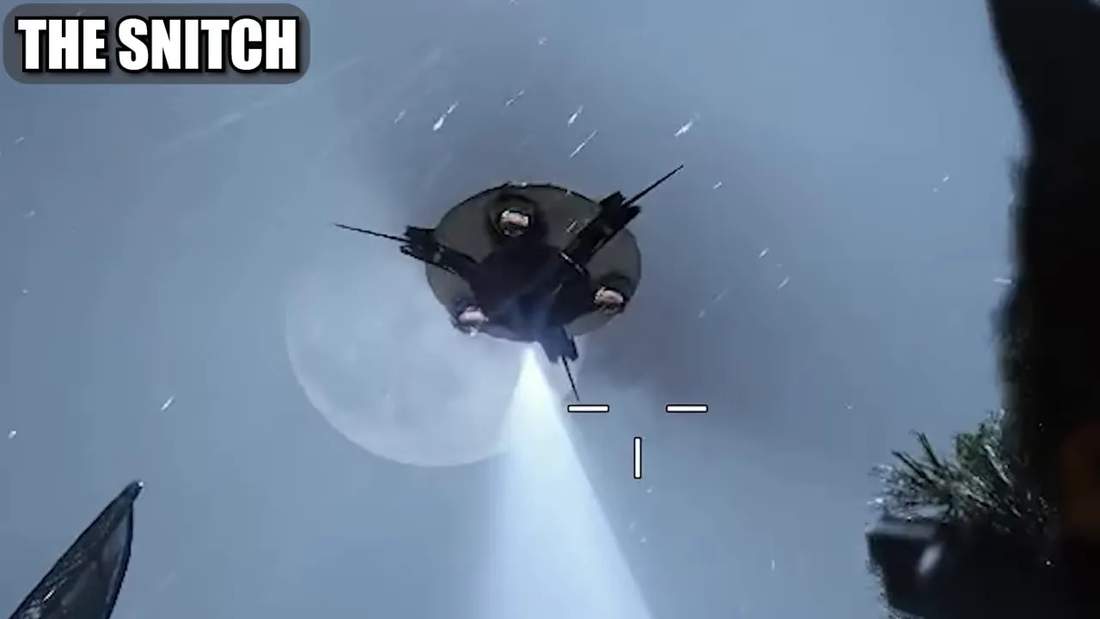
Don’t waste seekers trying to one-shot a snitch — it takes two. Easier method: shoot off two of its little flaps. It will crash immediately. Shooting center mass works too but eats bullets.
Pop
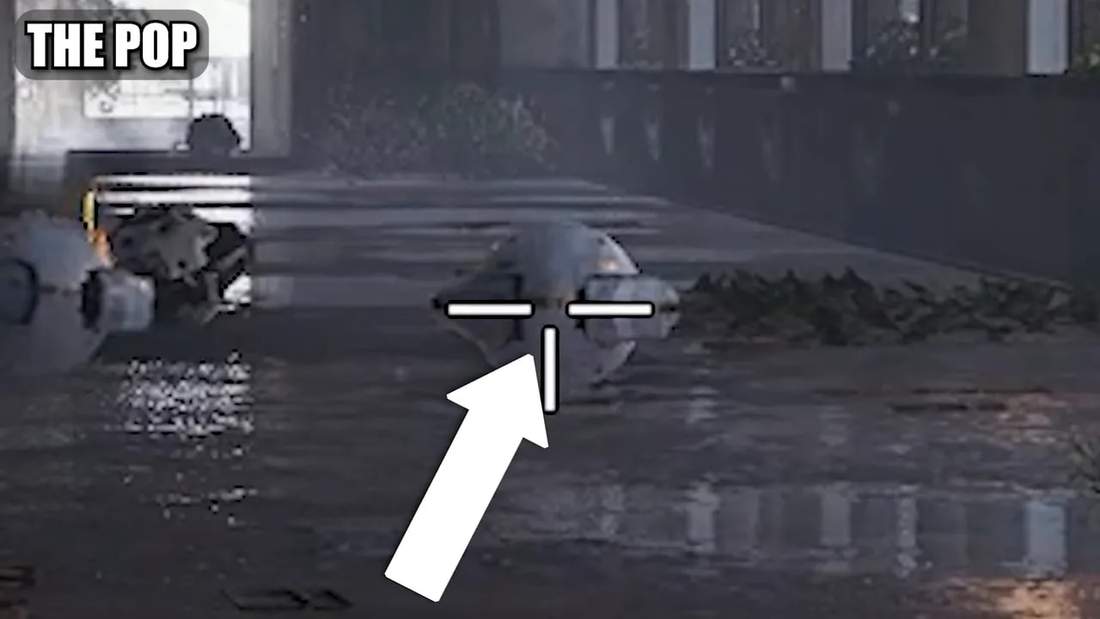
Pops try to suicide-bomb you. Two options:
- Dodge at the last second to avoid the blast entirely.
- Kill before impact by aiming for the round center of the body. The outer ring is tankier and wastes light ammo.
Fireball
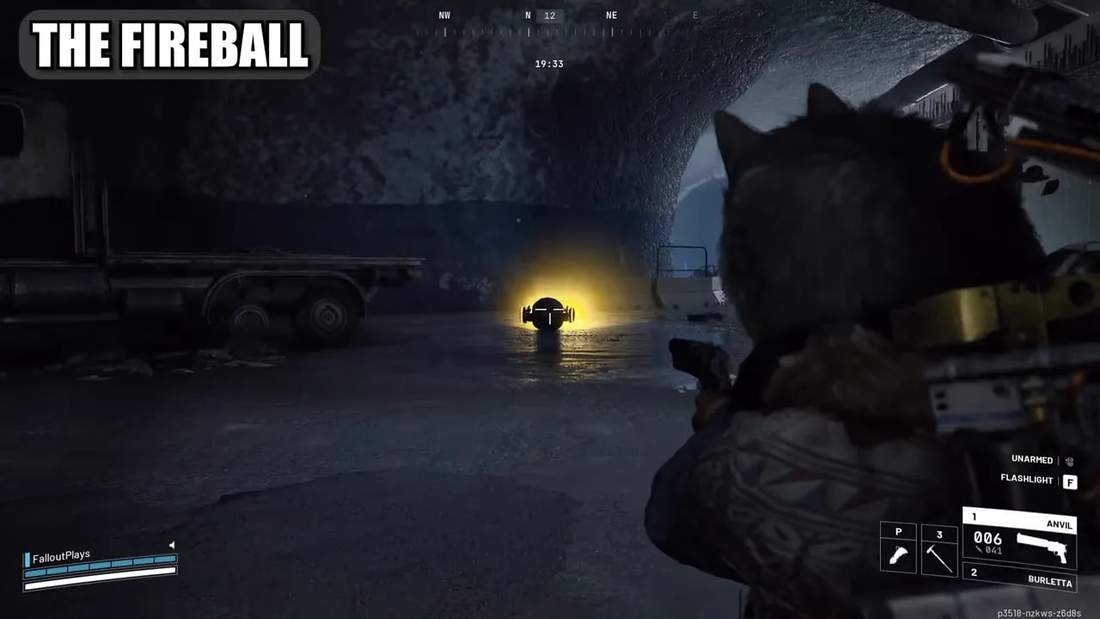
Two ways to handle fireballs:
- If you have heavy ammo (Anvil or Pharaoh), shoot center mass to one-shot.
- With light/medium weapons, wait for it to roll up and expose its underbelly, then shoot and immediately roll away from the resulting fire.
Rotors and flyers: Wasp, Hornet, Firefly
Wasp
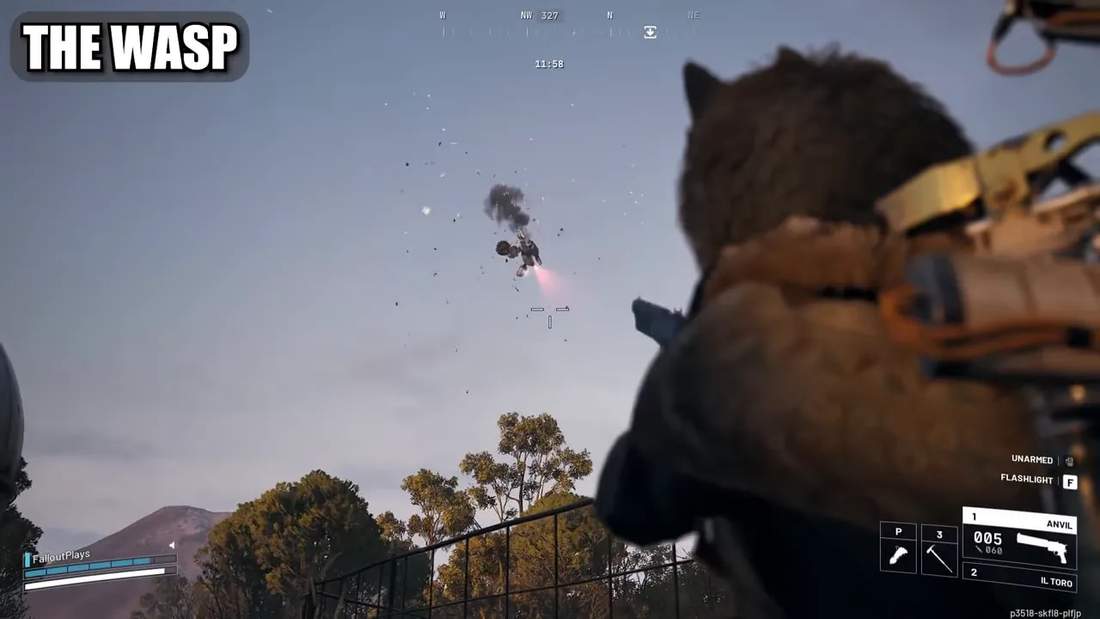
Wasps have four turbines. A seeker grenade will one-shot them, but if you lack that, break any two turbines and they crash. Sometimes one turbine break causes a lucky collision and kills it.
Hornet
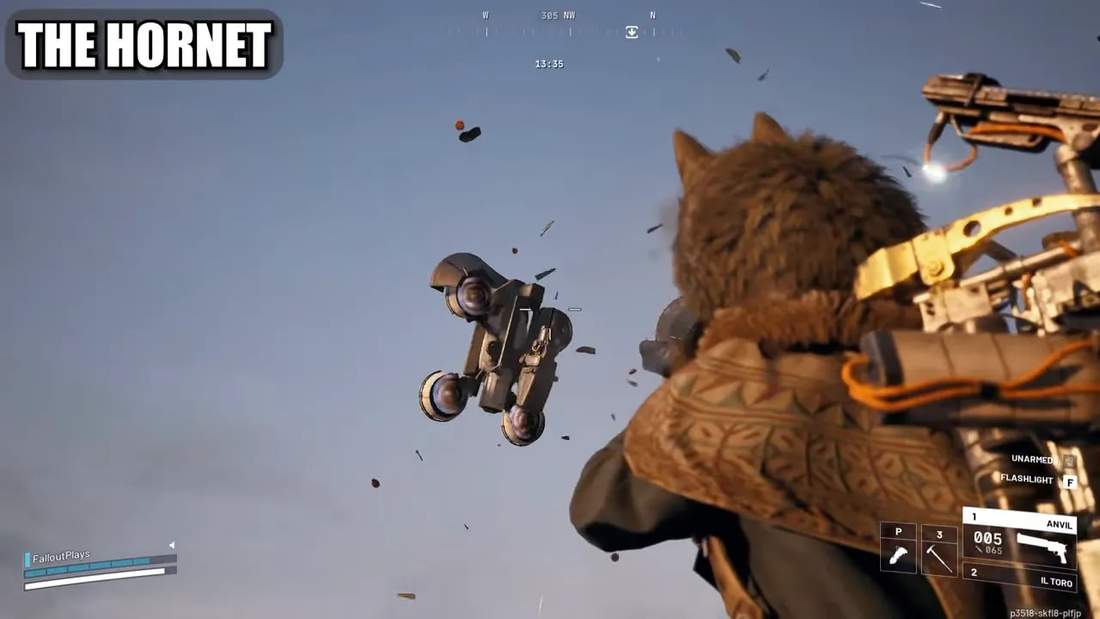
Like the wasp but with armored front turbines. Either break the armor then the front turbines or target the unarmored back turbines if your aim is solid. Seeker grenades are generally a waste on hornets.
Firefly (new)
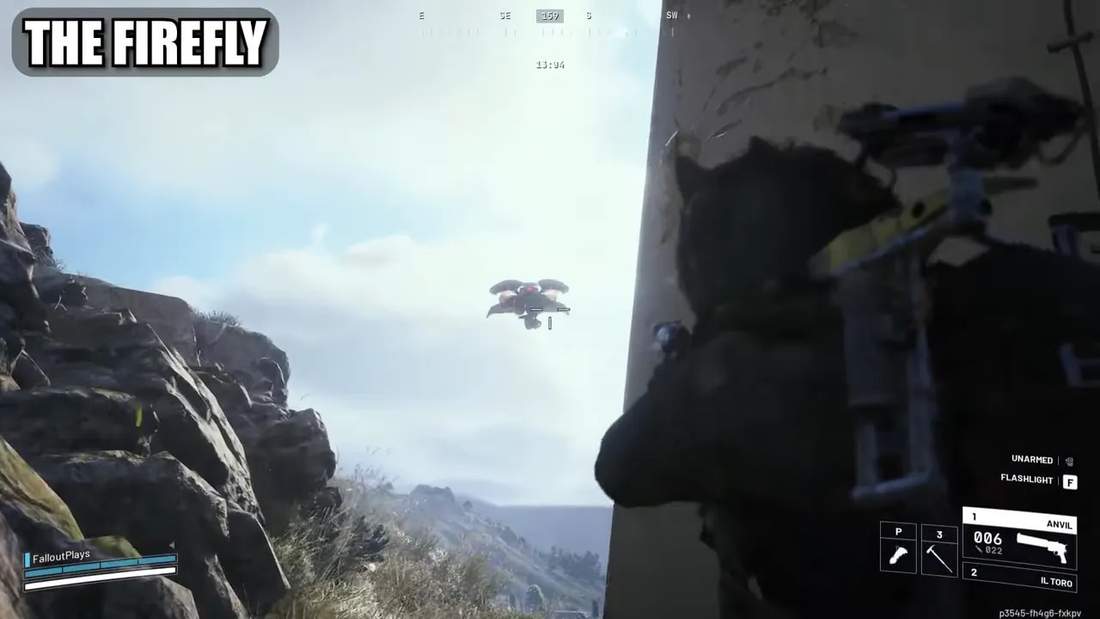
The firefly is a hornet on steroids with a flamethrower. It still goes down to two Anvil or Pharaoh shots. You can break two turbines or aim for the small V-shaped black armor above the eyes—the same spot that works on rocketeers.
Stationary threats: Turret, Sentinel, Surveyor, Shredder
Turret
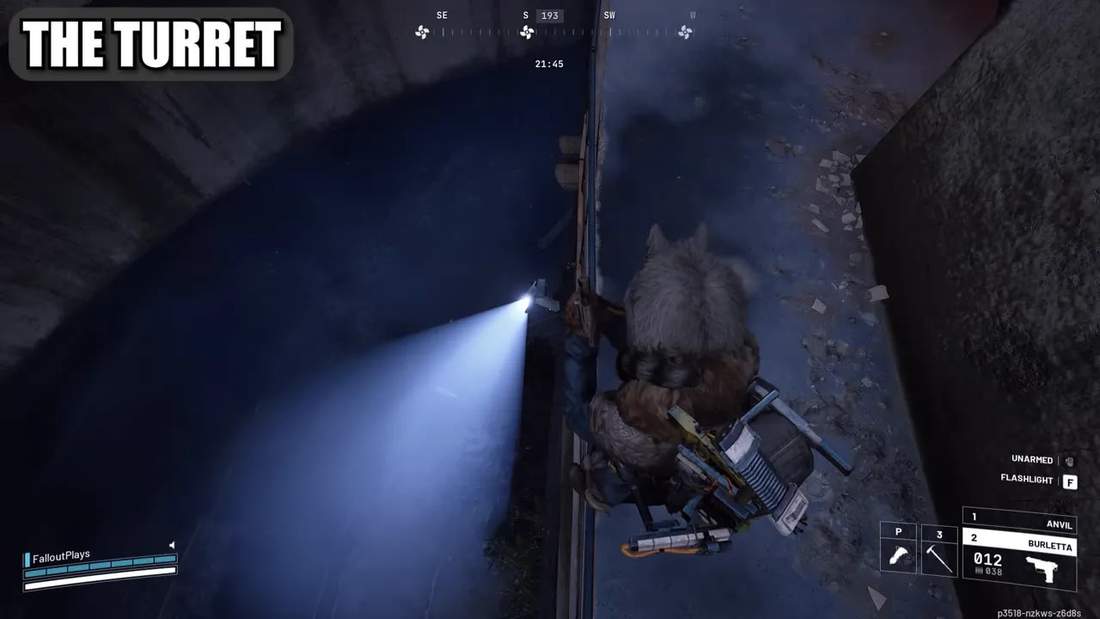
Regular turrets take two heavy-anvil/pharaoh hits. With light guns, bait them looking away and spam until they blow. Snap blast grenades also one-shot turrets because they cannot dodge.
Sentinel
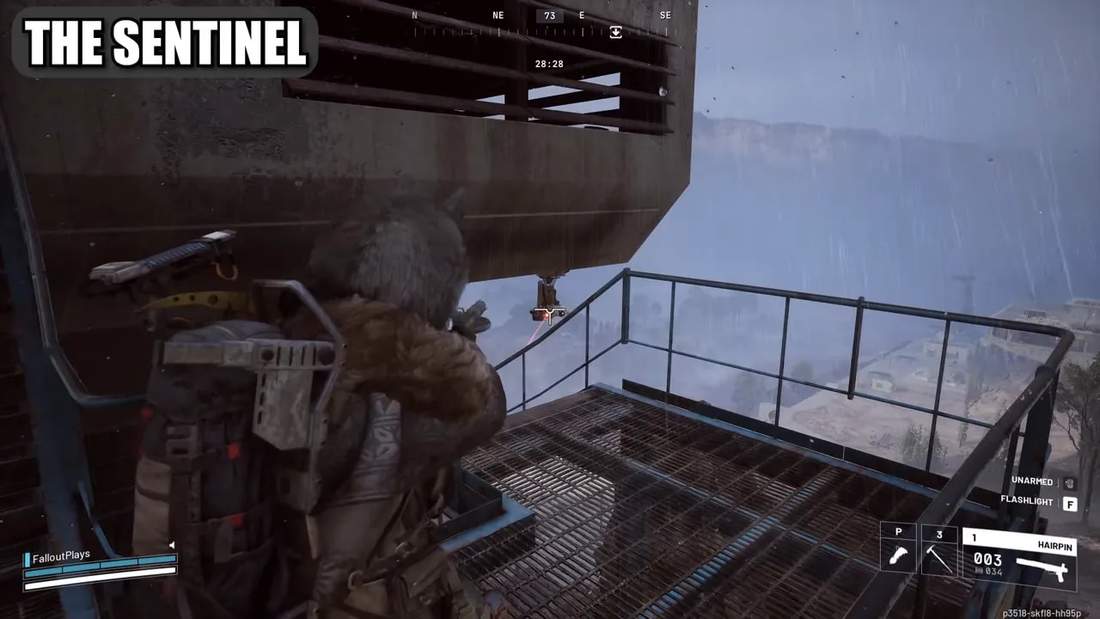
The beefy turret needs more damage. It telegraphs shots, so punish the charge with a blaze or snap blast grenade, or hammer it with sustained heavy fire while it tries to charge.
Surveyor
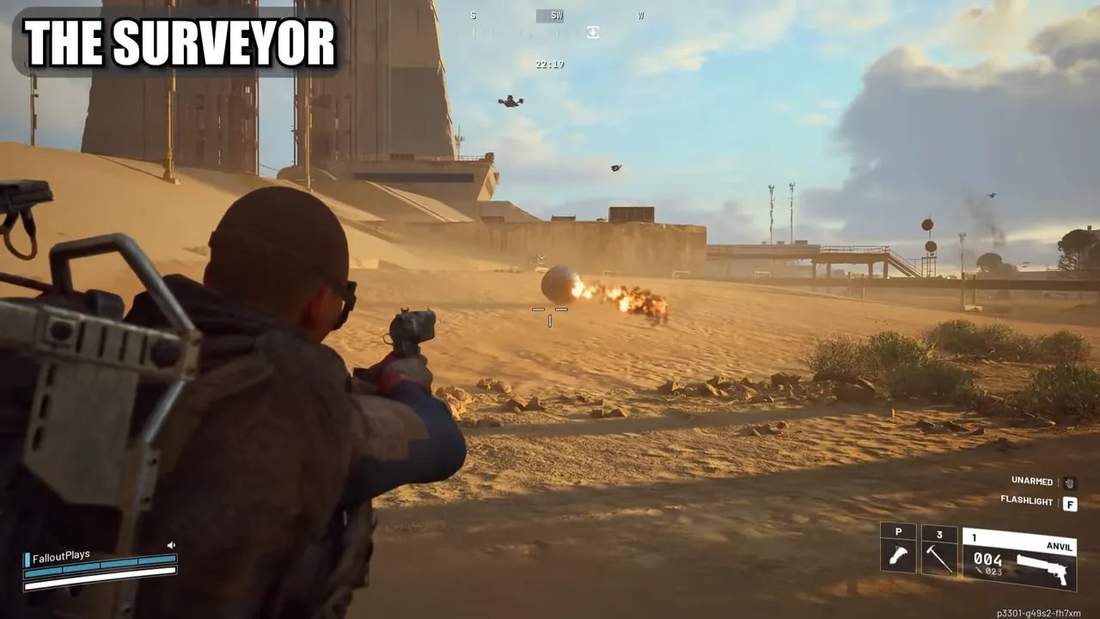
Surveyors roll away when damaged. Best approaches:
- Ambush while it transmits and shoot before armor closes.
- Chip away with heavy ammo (Anvil/Pharaoh).
- For light/medium guns, bait it into obstacles and drop barricades to trap it, then dismantle at leisure.
Shredder
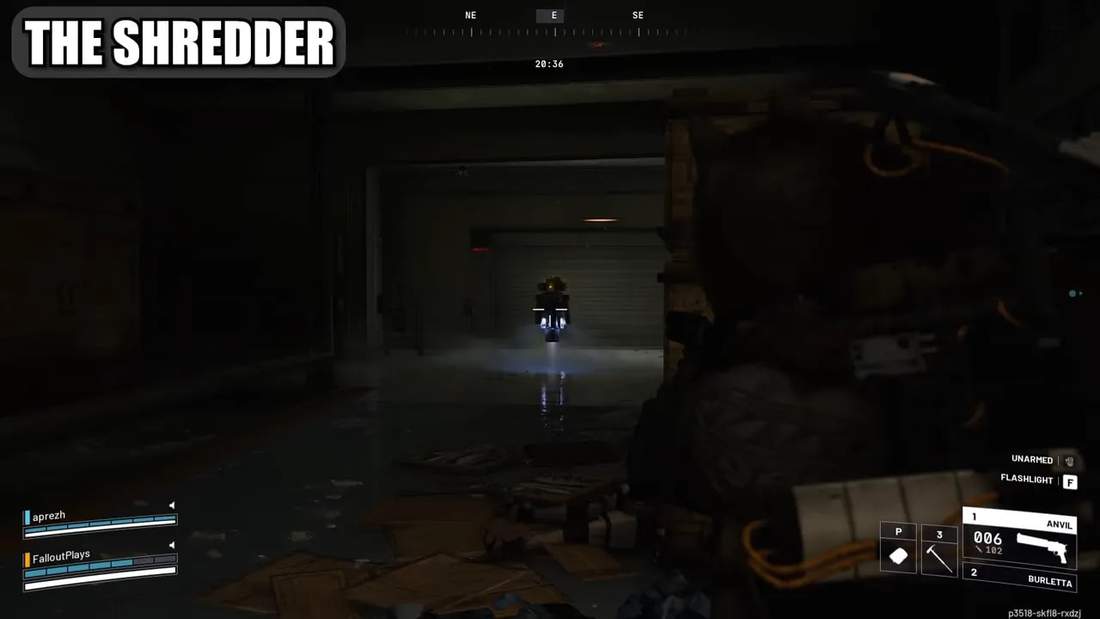
Shredders cannot move and fire simultaneously, so always fight them near cover. Dodge when they charge, then shoot the center engines—not the head—for max damage. Synth fuel cans and a Hullcracker or Hole Cracker absolutely wreck these if you have them.
Rolling bombs and the Comet (new)
Comet
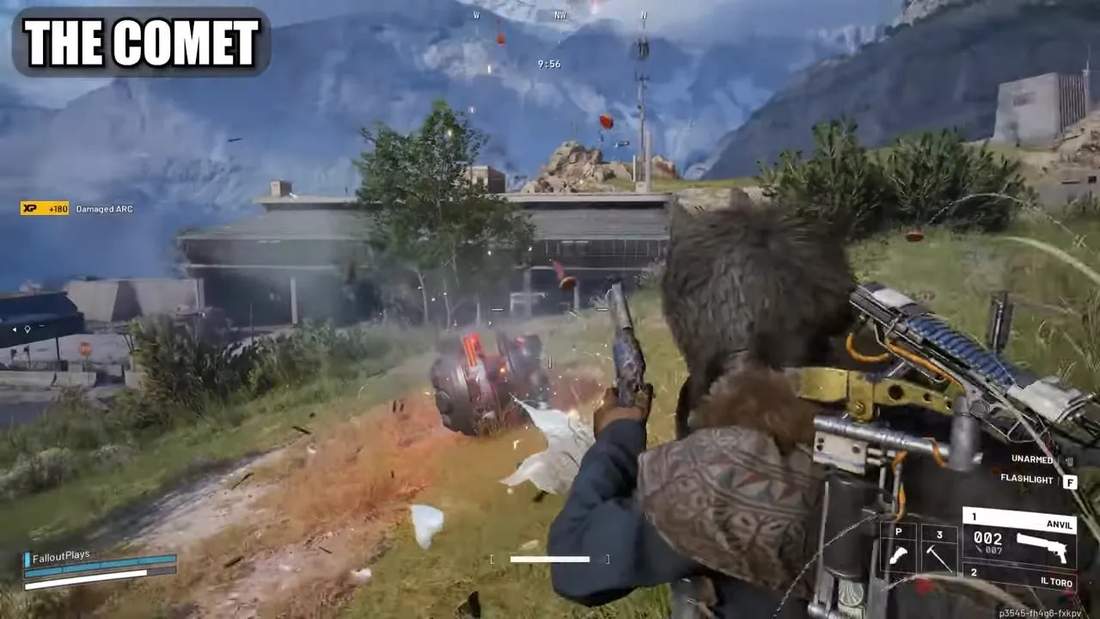
Think of comets as bigger pops. They take roughly five Anvil shots because they are heavily armored. If one is about to detonate and you can’t kill it, bait the explosion near nearby cover and hide behind it when it goes off.
Ground melees: Leaper
Leaper
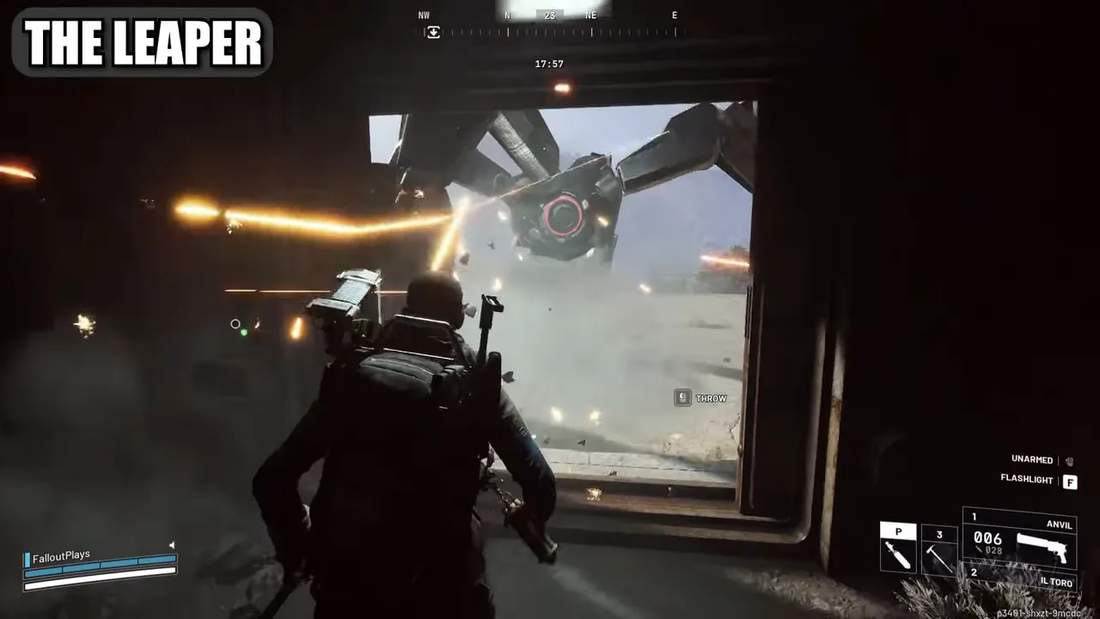
Leapers hate doorways. Holding a chokepoint with a doorway makes them trivial. Fire used to be a one-shot solution, but flame damage got nerfed; blaze or trailblazer grenades now take multiple hits. Best reliable method is heavy ammo into the red eye.
Air power and heavy walkers
Rocketeer
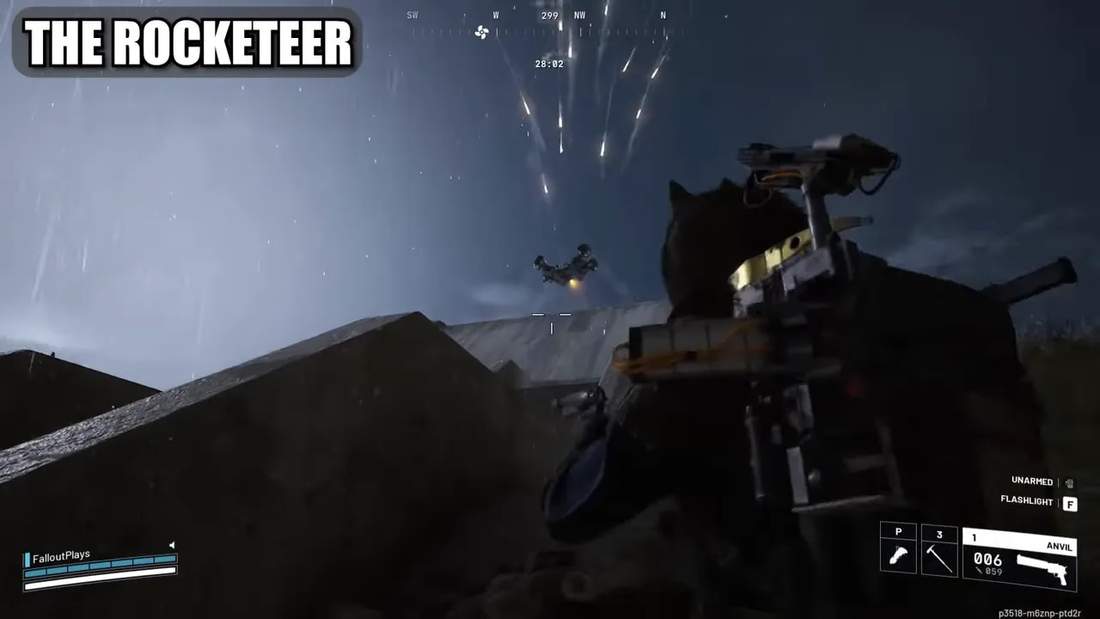
If you have a wolf pack, one proper throw can insta-kill a rocketeer. If not, fight near cover and start shooting it from far away. Shooting from distance often confuses its AI and makes it hover slowly toward you, letting you melt it with an Anvil or Pharaoh. Two broken turbines will crash it, or destroy the V-shaped black armor above the eye and keep hitting that spot.
Bastions and Bombaders
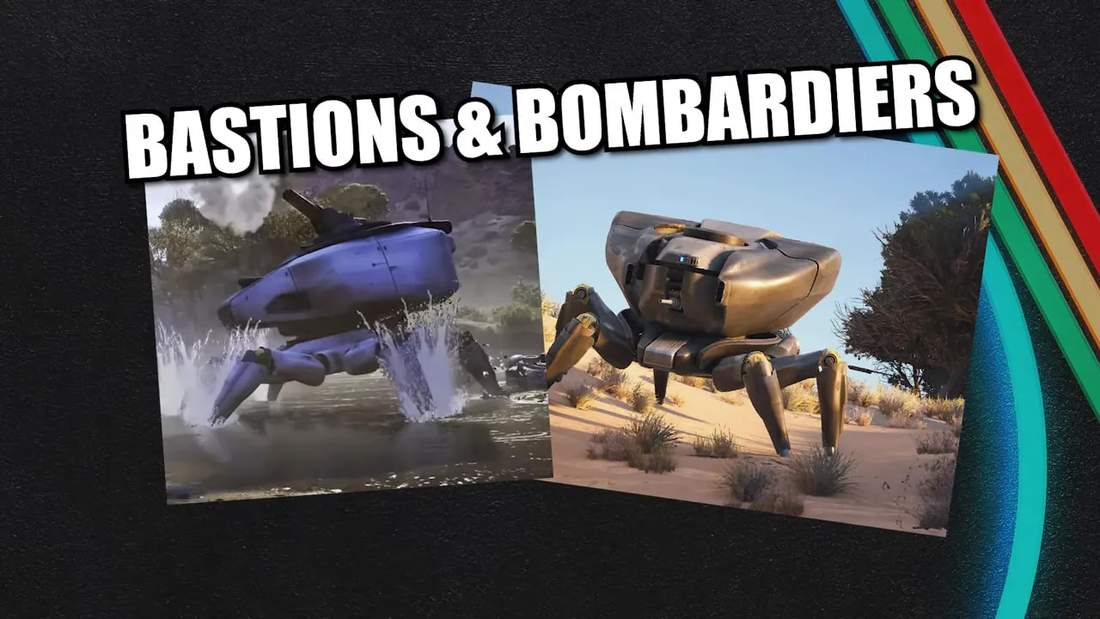
Wolf packs can one-shot these if every fragment connects, but cramped spaces mess with grenades. Deadline mines stuck to the back will one-shot if you can sneak close. The budget method: repeatedly shoot unprotected yellow joints until they explode, run to the back and hit the small yellow canister, and then finish the exposed red core.
Endgame: Queen and Matriarch
Queen
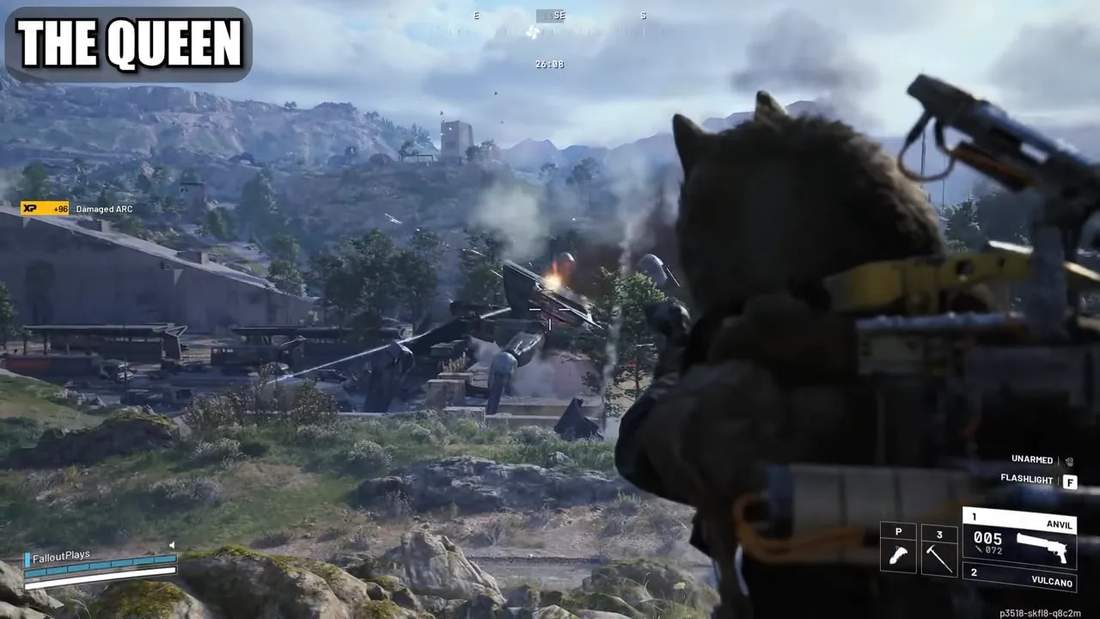
Solo lobbies make queen fights easier due to less PvP interference. Keep cover nearby. Three main methods:
- Direct heavy/energy damage—shoot the body until armor breaks, then hit the exposed core.
- Break yellow joints like a bastion and work the exposed back canister.
- Snap hook play—hook on top, break the top plate, drop deadlines. Risky but high payoff.
Bring a spare shield. The queen hits hard and may break your primary.
Matriarch
Matriarch fights are the queen on steroids. Same strategies apply, but expect backup spawns and very accurate rockets. If you climb on top, be ready to GTFO; her rockets will chase you.
Final checklist for Arc Raiders in 2026
To summarize for playing Arc Raiders in 2026:
- Carry heavy ammo weapons like Anvil or Pharaoh for reliable one-shotting of many ark.
- Use cover and distance—most ark telegraph attacks or can be baited.
- Reserve wolf packs for rocketeers, bastions, and bosses if you have them, but don’t rely on them exclusively.
- Keep utility items like deadlines, snap hook, a backup shield, and a Hullcracker handy for different scenarios.
These tactics cut down frustration and make fights predictable. Arc Raiders in 2026 still rewards solid aim and smart positioning over gimmicks, so play patient, aim for weak spots, and use the environment to your advantage.